
Activity 1: What is my IP address? Read the follow instructions carefully in order to create a report of your Internet connection. The tool to write the report is under Report: What is my IP address?
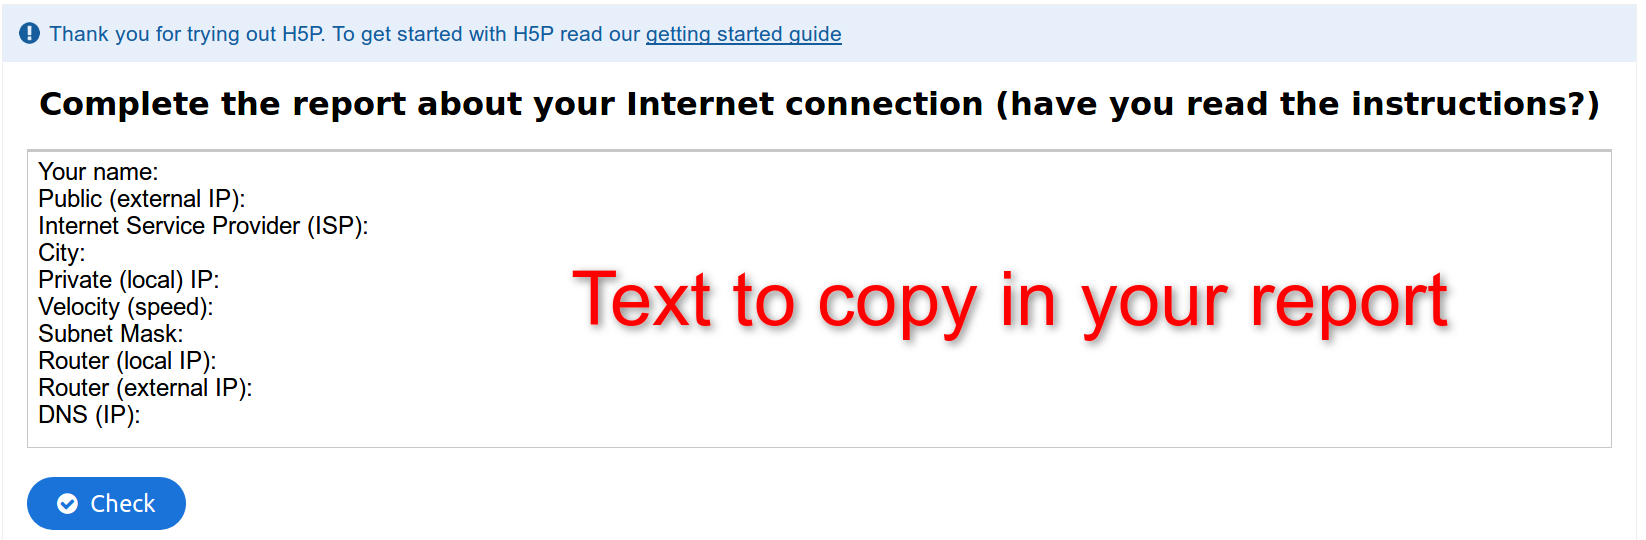
- Copy the text below in your report and write your name and group (first item).
- For the external IP go to this page and copy the information required (3 items).
- For the internal IP click on the Internet connection icon (on the left of the task bar) and select Información de la conexión. Copy the information required (6 items). The IP for the router is Ruta predeterminada.
- When your report is finished, take a screenshot of the report (only the report, not the whole page), name it as report1.png and upload it to your Classroom/Unit3/active learning.
Report: What is my IP address?

Activity 2: What is my local IP address? Now you are going to collect the same information as in the previous activity from the Linux Terminal (Terminal de Mate, the monitor icon on the left of your task bar).
Click on the monitor icon to open the terminal:
Click on the monitor icon to open the terminal:
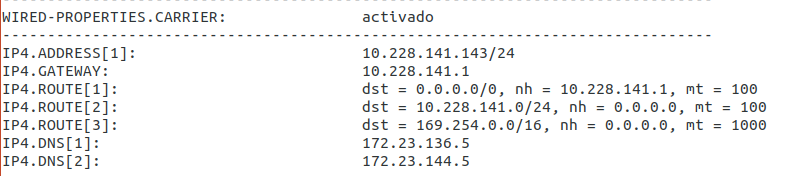
- Write the command: nmcli -p device show and Enter.
- Spot (locate) your private IP, the private IP for the router (Gateway) and the IP for the DNS. Check that the IP numbers are the same as the ones in the previous activity.
- Take a screenshot of the information required (have a look at the picture below), name it as report2.png and upload it to your Classroom/Unit3/Active learning on the Internet.
Activity 2: Continuing....
Click on the monitor icon to open the terminal:
Click on the monitor icon to open the terminal:
- Your public IP: write the command: host myip.opendns.com resolver1.opendns.com and Enter. Is the same address as the one you got in the previous activity?
- Your DNS: write the command: cat /etc/resolv.conf and Enter. Is the same address as the one you got in the previous activity?

| weppage_html.rar |
Activity 3: Web Pages. Now you are going to create a web page. Read and follow the instructions below:
- First download the html file above (webpage_html.rar) to Descargas.
- Go to Descargas folder and open the file: right click on the file and select Extraer aquí.You will get a new folder.
- Open webpage_html folder and have a look at the 4 files there: 2 pictures, a txt document and an html document.
- Open (double click) the html file and have a look: the tab with the txt Unit 5..., text in different formats, the 2 pictures and links (hyperlinks). Close it and get back to webpage_html folder.
- Now open (double click) the txt document and have a look at it: the first mark (html), the head with the title, the style of the page (colours and fonts) and the body.
- And now make the following changes in this document:
- <head><title>: Chage Unit 5 to Unit 3 and write your names in the place of Aitor Menta.... Save this document as (Archivo/Guardar como...) electricity2.html and replace the original one. Now open (double click) the html file and have a look at the tab. Are there the changes you have made?
- So, every time you make a change you have to save the txt document as html document, and to see these changes, refresh the html document.
- <style> h1: change colour to black.
- <body> li style: delete the blank before Power Supply.
- <body><li> hrefand: change Technologies Valdebernardo to TechnologIES Alfredo Kraus.
- <body><li> hrefand: delete the whole line <li><a href:"http://padlet.com....</a></li>
- Get your pictures to webpage_html folder.
- First picture: copy the complete name of your picture, spot (go to) <style><table><td... "circuit03.jpg" and change "circuit03.jpg" to "your file name. extnsion". Check that it works.
- Do the same with the second picture.
- Call the teacher.
- Take a screenshot (the whole window) of your webpageand save it as mywebpage.png
- Now upload your electricity2.html and mywebpage.png to your Classroom/Unit3/active learning.


