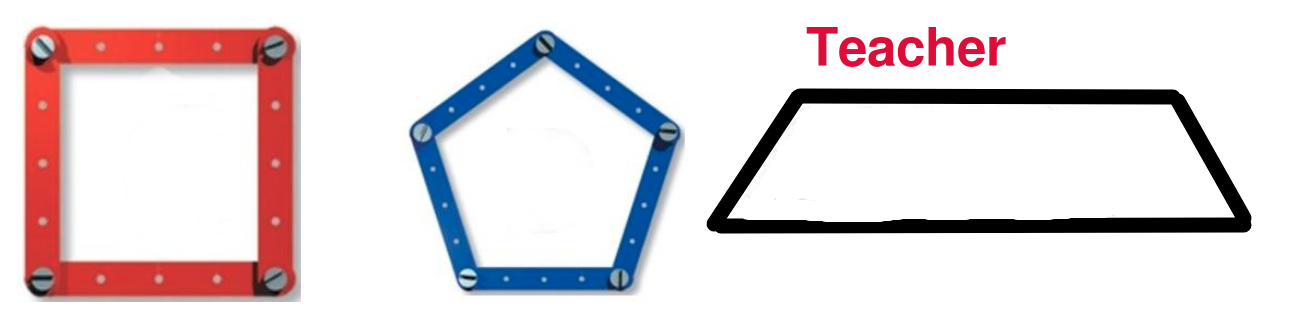
Activity 1: Triangulation 1
First download the picture below (right click on the image) to Descargas. Then use the online WWW board below to upload the picture by clicking on Insert image icon. Place the picture, make it a bit smaller and follow the instructions below:
- Select the Line tool (stroke width: extrabold) and close the padlock to keep the line tool active. Then make the triangulation of the 3 figures:
- Triangulate the square (minimum triangulation).
- Triangulate the pentagon (minimum triangulation).
- Triangulate the figure in black (10-12 triangles).
- When finished write your group name and group (stroke in red: ff0000, font size: extra large) to the right of Teacher.
- Then download the picture (Save it as png image) to Descargas. Change its name by triangulation1.png.
- Finally upload the picture to your Classroom/unit2/triangulation.
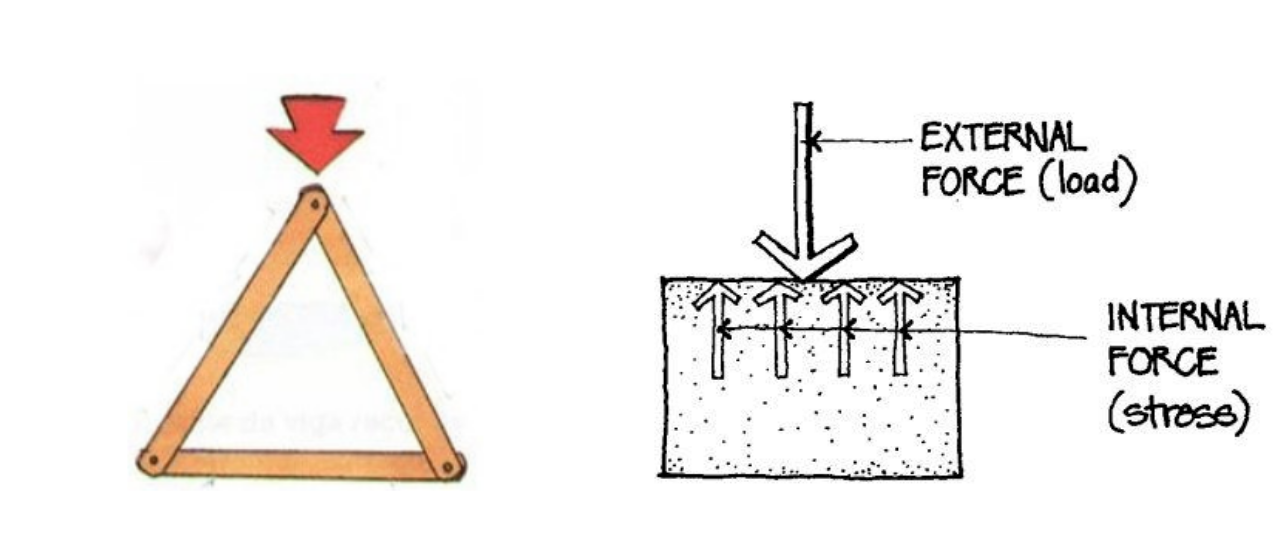
Activity 2: Triangulation 2
First download the picture below (right click on the image) to Descargas. Then use the online WWW board below to upload the picture by clicking on Insert image icon. Place the picture a bit to the right and follow the instructions below:
- You are going to draw the stresses (with their names) that appear on the three sides of a triangle when we apply an external force (load) to it.
- Select the Arrow tool (stroke width: extrabold) and close the padlock to keep the arrow tool active.
- For the triangle, draw the stresses (with their names) compression and tension.
- When finished write your group name and group (stroke in red: ff0000, font size: extra large) to the left of the big arrow (External Force).
- Then download the picture (Save it as png image) to Descargas. Change its name by triangulation2.png.
- Finally upload the picture to your Classroom/unit2/triangulation.
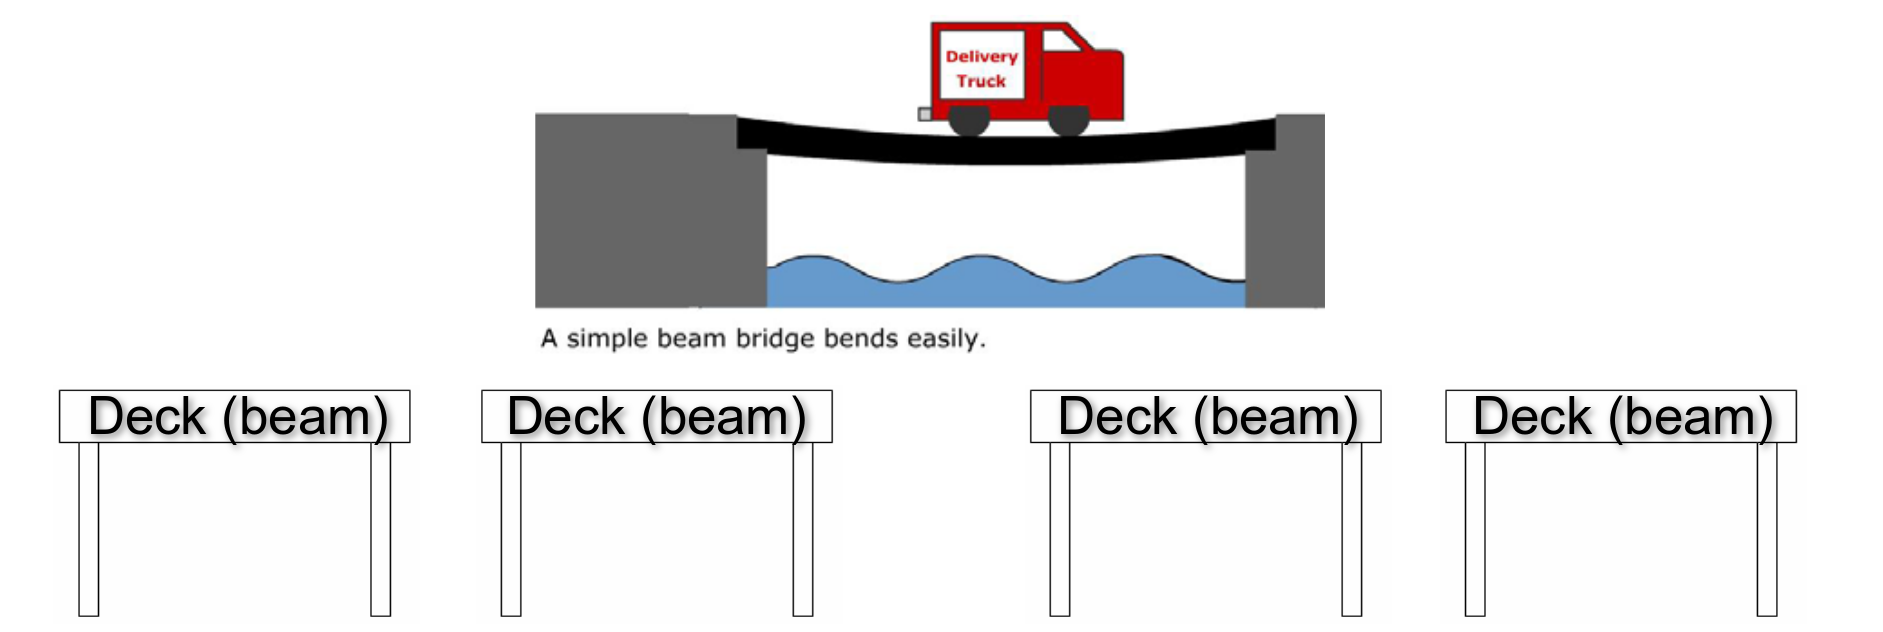
Activity 3: Triangulation 3
First download the picture below (right click on the image) to Descargas. Then use the online WWW board below to upload the picture by clicking on Insert image icon. Place the picture a bit to the right and follow the instructions below:
- Draw 4 solutions to stiffen (strengthen/make stronger) the deck of the beam bridge indicating the name of the structural elements added (arch, column, triangulation, suspension bridge).
- Select the Line tool (stroke width: extrabold) and close the padlock to keep the line tool active.
- When finished write your group name and group (stroke in red: ff0000, font size: extra large) beneath the Delivery Truck (between the deck and the water).
- Then download the picture (Save as it i png mage) to Descargas. Change its name by triangulation3.png.
- Finally upload the picture to your Classroom/unit2/triangulation.