
Activity 0: sign up for your class from your Google Account
This is a Google Activity. Open your Google account (make sure you know your email and your password) and:
- Open the tool Classroom
- Click on your class (tpr2_2A, tpr2_2B, etc.)
- Click on Classwork (Trabajo de clase).
- At the bottom of the page you will find unit0: Introduction with 2 activities. Don't click on them yet.
- All the activities on this page are individual activities. You need to upload your own files.
Activity 1: Initial Activities
Now click on the activity Initial Activities and then select View assignment/Ver tarea. After that:
- Read the instructions. You will usually find a link to the activity to the activity published on this General Website. And a list of files you have to create and upload to the activity in your Classroom.
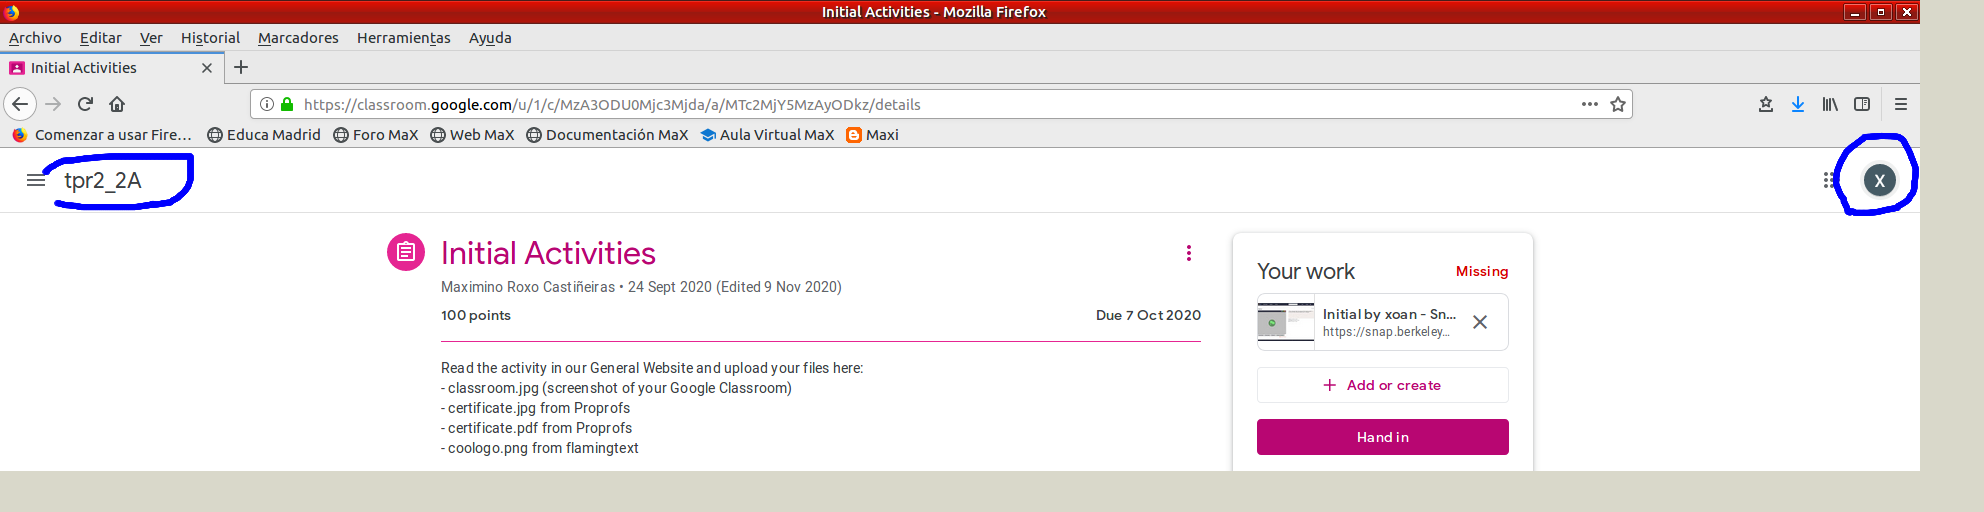
- In this first activity what you have to do here is to take a screenshot of your Classwork/Trabajo de clase.
- Learning how to take a screenshot of the screen:
- In this case your screenshot (picture) has to include your icon and your group. Have a look at the picture below which has a capital X as an icon and the group 2A.
- From your keyboard, Click (press/tap) on ImpPant key (Imprimir pantalla). Pay attention to the folder your are going to download your screenshot (usually Descargas). Click on Save/Guardar.
- From your Google account go to Classwork/unit0: Introduction and open Initial Activities. Now click on Add or create and select file.
- Upload your screenshot (the file) to your classroom/Introduction/Initial Activities.
- Check you have your file (a picture of your screen) by clicking on it.
- Don't hand your screenshot in until you have all the files you need.
Keep reading these instructions:
- Learning how to take a screenshot of the screen. Second option:
- From the activity you can click on the camara icon on the bar at the bottom (this is a shortcut to Start/Accesorios/Capturar pantalla).
- This way you have the possibility of selecting the area you are interested in. Proceed the same way you did before to create and upload the second screenshot.

Activity 2: Creating logos from flamingtext
Go to flamingtext and create a logo with your name, class and the username you use to enter Learning Apps. Have a look at the picture below to see the model you have to follow to create your logo.

Let's see how:
- First write your complete name (Teacher 2º ESO M) and click on Get Started
- Now select your logo from the examples
- Now select one of the variations (customize you logo)
- Now edit the text by adding your username for LearningApps in the second line . If you like, you can also change the font/letter type, colours,...
- When finished click on Next/Done! to get your logo. Call the teacher.
- Right click on the logo and save it as an image (coollogo.png). Did you notice the folder you have downloaded your logo/picture to?
- Upload your image (file) to your classroom/Introduction/Initial Activities.

Activity 3: Video showing how to do this activity and upload the files to your Classroom
Activity 3: Taking quizzes from Proprofs
- The purpose of this test is only to practice how to download the report in two different formats: as an image (png/jpg) and as a PDF file.
- Before doing that, and after completing the test, you need to know how to enter your name. Call the teacher.
- Click on Proprofs, click on Start button and complete the test (only 5 simple questions). Click on submitting the answer every time you finish a question.
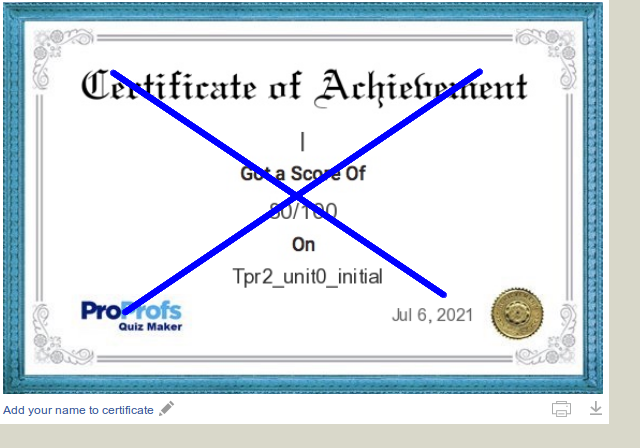
- When finished click on View my results and notice that the certificate is without your name.
- Have a look at the pictures below and keep reading.
|
|
|
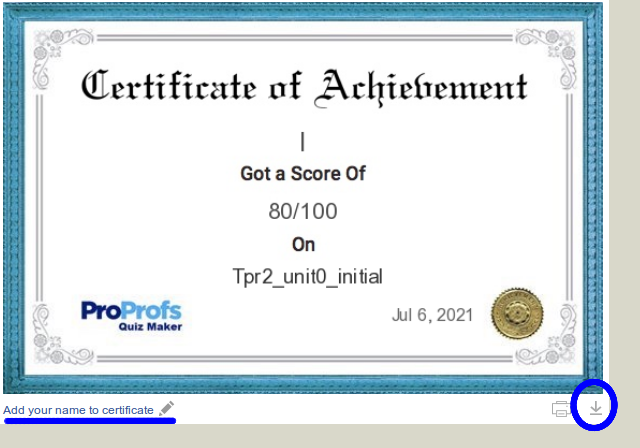
- To add your name to the certificate, click on the link below the certificate in order to add your name and surname (no special characters are permitted, like ñ and written accents).
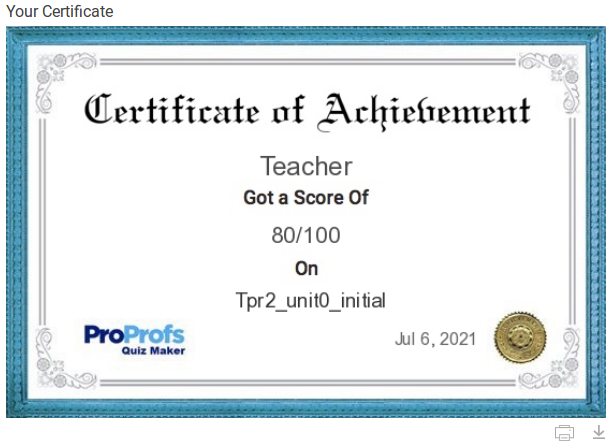
- Click on Submit and then allow the web to resend the certificate (the website needs to create a new certificate with your name on it).
- Now that you have the certificate:
- image file: right-click on the certificate and save it as an image (certificate.png). Change the file name from the folder you have downloaded the image (file) to.
- PDF file: click on the arrow on the bottom right of the certificate to download it as a PDF file (certificate.pdf). Change the file name from the folder you have downloaded the PDF file to.
- When you have got your 2 files, upload them to your Classroom from unit0/Introduction/Initial Activities.
- After uploading your file you can hand all of them in (5 in total).
